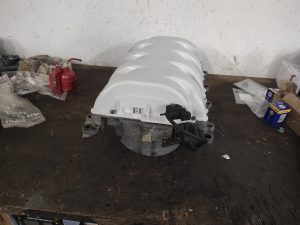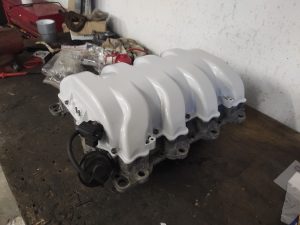
HOW TO: M113 intake manifold assembly “Part2”
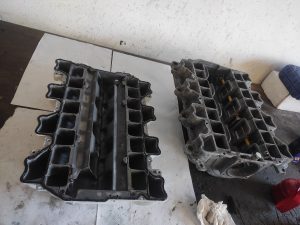
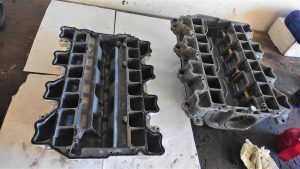
The assembly of the manifold is pretty simple when everyting is cleaned. The only thing i did is de-greased everything with brake cleaner before putting the sealer on. The internals i left clean. I put the gasket on the housings internally. just a small layer so it will not be to much
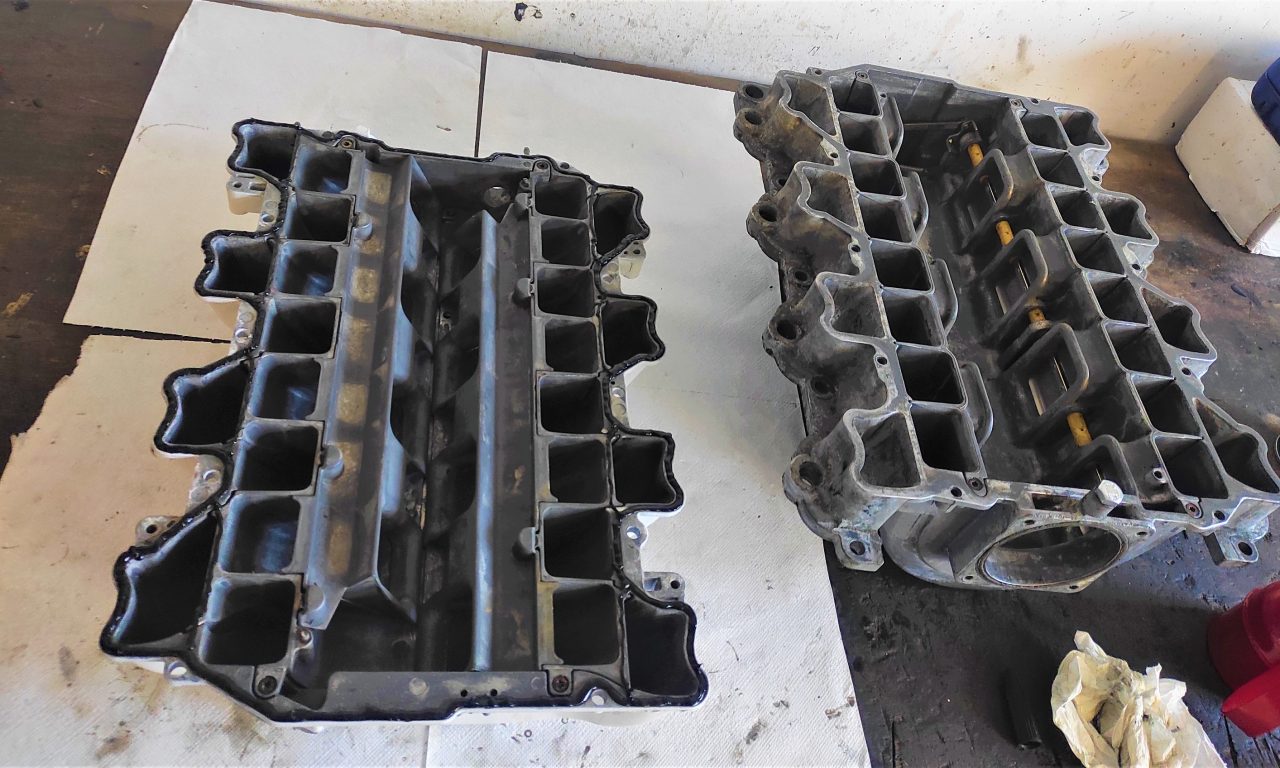
When the internals are put in place there are 4 small bolts that keep them in position.
the bottom housing has a flat top surface. The top part is having all around the edge a small channel where the old gasket was located. I have put the channel full of gasket material. Make sure there is also a little above the surface of the channel so it can make a closed surface when mounting together.
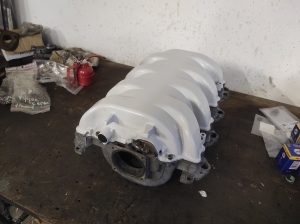
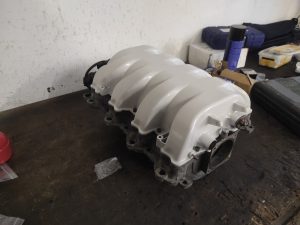
After putting the 2 housings together there are all around M6 bolts. I have putting them hand tight . normally M6 is about 10nm. but i dont want to overstretch the magnesium housing .
I also have space enough to look in to the runners to see if there is to much gasket material and i have removed this on some spots
if there are any questions about this subject just ask